Introduction:
Natural light has the power to transform any space, creating a vibrant and inviting atmosphere. Velux windows have become a popular choice for homeowners seeking to maximize daylight in their homes while maintaining energy efficiency. In this comprehensive guide, we will delve into the process of Norfolk velux windows installation, exploring the benefits, considerations, and step-by-step instructions for a successful installation.
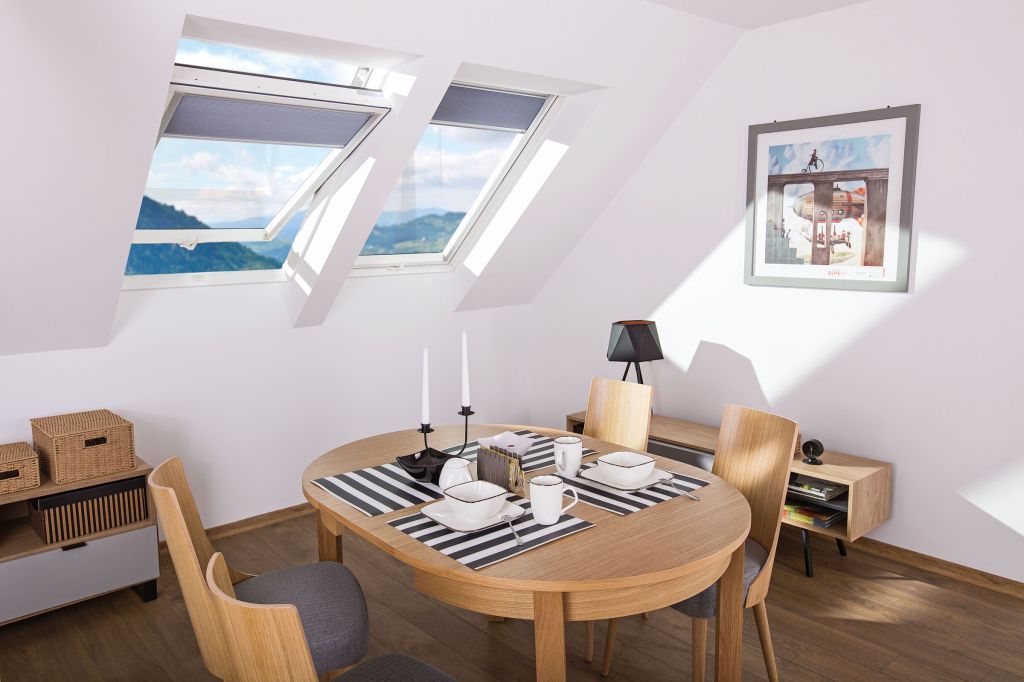
Benefits of Velux Windows:
- Amplifying Natural Light: Velux windows are designed to capture and channel natural light into your living spaces, reducing the need for artificial lighting and creating a brighter, more open environment.
- Enhanced Ventilation: Many Velux windows are equipped with innovative ventilation features, promoting air circulation and maintaining a comfortable indoor climate.
- Energy Efficiency: Velux windows are built with energy-efficient materials, contributing to better insulation and reducing the reliance on heating and cooling systems, ultimately lowering energy costs.
Considerations Before Installation:
- Roof Pitch and Material: Velux windows are suitable for a variety of roof types, but the pitch and material of your roof should be considered to ensure proper installation.
- Window Size and Placement: Carefully choose the size and placement of Velux windows based on the room’s purpose, ensuring optimal light distribution and aesthetic appeal.
- Local Building Codes: Familiarize yourself with local building codes and regulations to ensure compliance with safety standards and obtain any necessary permits before initiating the installation process.
Steps for Velux Windows Installation:
- Assessment and Planning: a. Measure the roof pitch accurately. b. Choose the appropriate Velux window size and style. c. Determine the optimal placement for maximum daylight exposure.
- Gathering Materials: a. Purchase the Velux window unit. b. Acquire necessary tools such as a saw, drill, and flashing kit.
- Preparing the Opening: a. Remove roofing materials around the installation site. b. Cut an opening based on the dimensions provided in the Velux window instructions.
- Installing the Window: a. Place the window into the prepared opening. b. Secure the window using the provided brackets. c. Ensure a proper seal by applying the flashing kit to prevent leaks.
- Insulating and Finishing: a. Install insulation around the window frame. b. Complete the interior finish with drywall or trim as desired.
- Testing and Adjustment: a. Open and close the Velux window to ensure smooth operation. b. Check for any gaps or leaks and make necessary adjustments.
Conclusion:
Velux windows offer a seamless blend of functionality and aesthetics, elevating the ambiance of any space through the infusion of natural light. By following this comprehensive guide to Velux windows installation, you can embark on a transformative journey to brighten your home while reaping the numerous benefits of these innovative windows. Illuminate your living spaces and embrace the beauty of daylight with Velux windows.
